
Make kefir
Taking a break from making milk kefir
Taking a week off from milk kefir is easy: cover the grains with fresh pasteurized milk, refrigerate them, and label the date. A longer break needs a separate frozen or dried backup. When you return, restart with small fresh feedings and wait for repeatable acidification before drinking the result.

How long will you be away?
BCCDC reports that appropriately frozen, air-dried or freeze-dried milk grains can retain activity for 12–18 months. That is a reported preservation possibility, not a home storage guarantee. Keep a backup in its own labelled container and record the exact treatment and revival instructions.
Plan the pause—and the return

Before → away → back
- Use a healthy, active culture.
- Fresh pasteurized milk, dated, at 4°C or colder.
- Discard storage liquid; use fresh feedings and confirm repeated normal acidification.
A longer absence needs a different arrangement
- Arrange a caregiver who knows the usual refresh routine.
- Or preserve a healthy spare using a complete method for that culture.
- Allow revival time; do not assume the first batch is ready to drink.
Seven days is BCCDC’s short-storage window for best grain activity, not an expiry guarantee for the liquid.
Reviving dried grains needs its own instructions
Before the break, store a culture that is already working
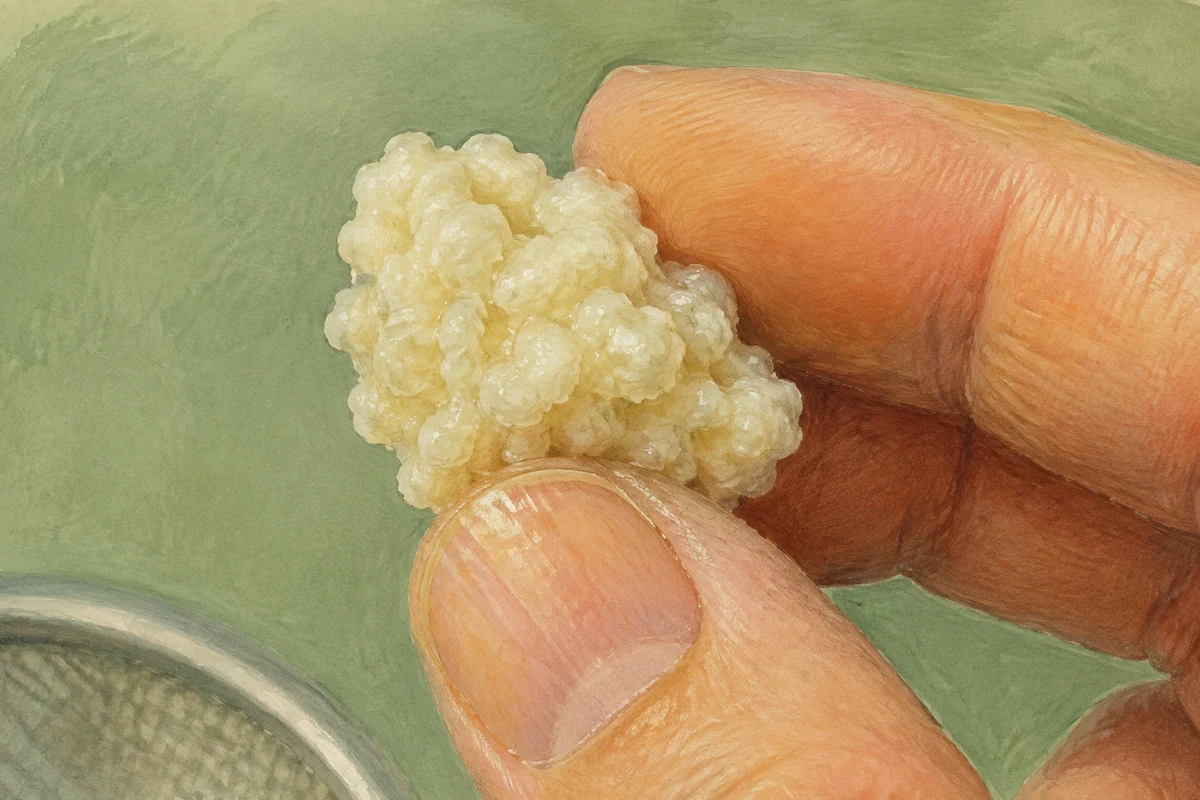
Give the grains two or three ordinary feedings before storage. They should be turning fresh milk tart and acidic on a familiar schedule, with no unusual colour, growth, or smell. Storage holds a culture in the condition you give it. It does not quietly repair grains that are already overheated, starved, contaminated, or still recovering from delivery.
For a refrigerated pause:
- Strain the grains with clean equipment.
- Put them in a clean food-grade container.
- Add enough fresh pasteurized milk to cover and feed them.
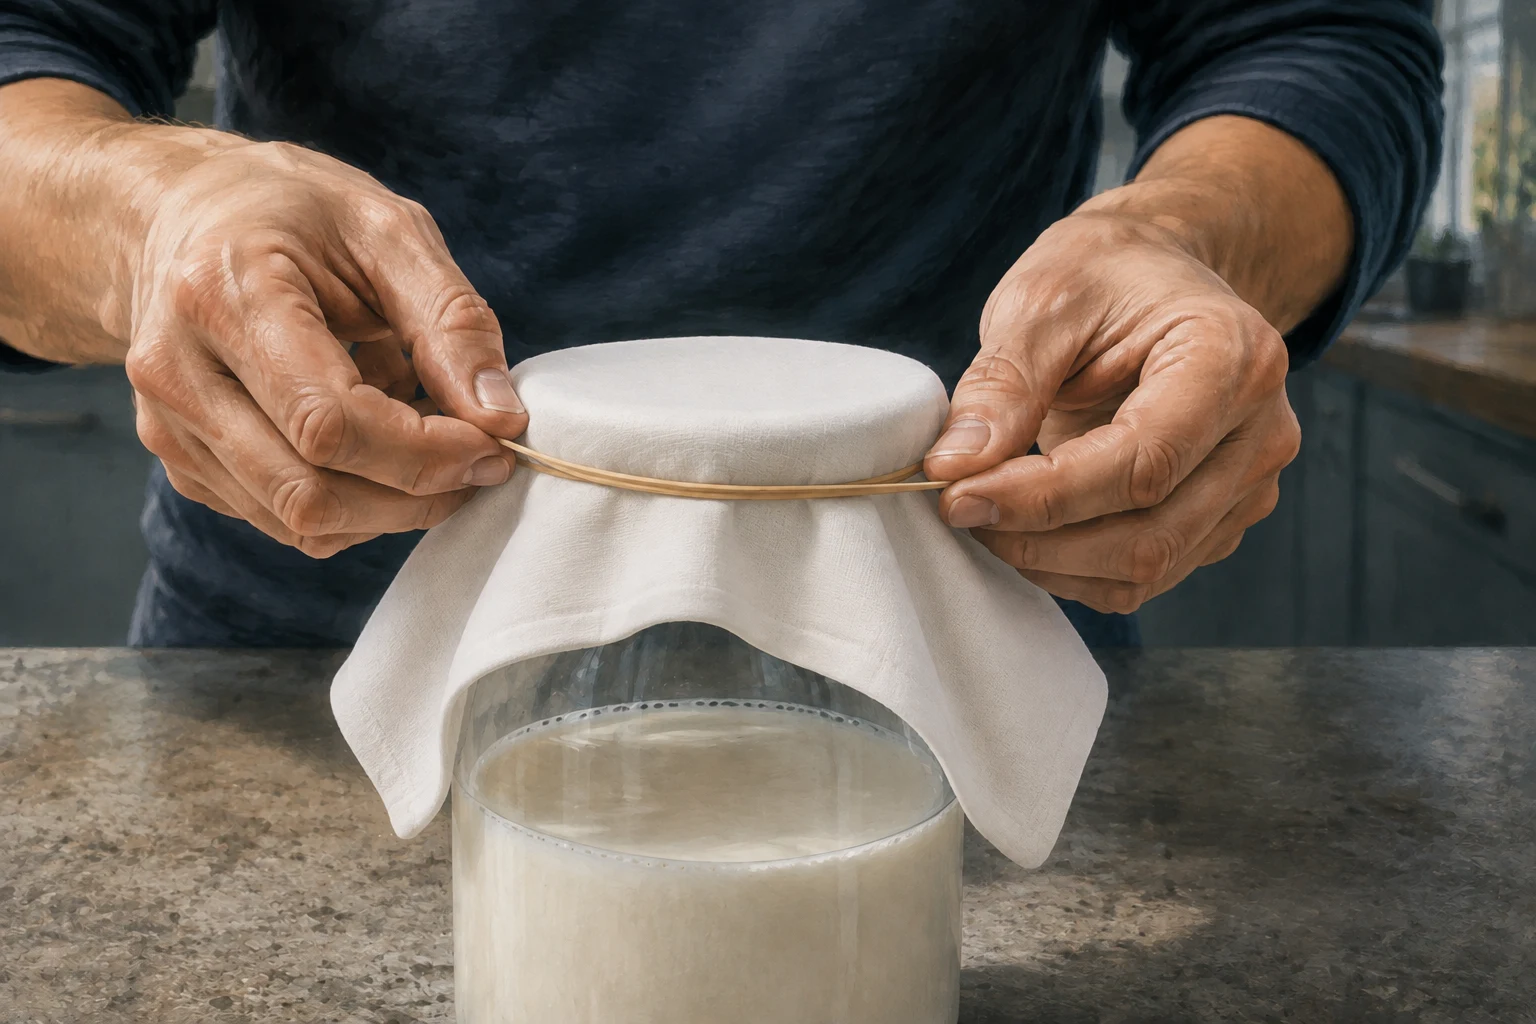
- Close or cover the container, label the culture and date, and place it on a stable refrigerator shelf at 4°C or colder.
Choose a stable refrigerator shelf rather than the door. Do not place the jar against a freezing cold spot either.
If you are freezing or drying a backup, use a source-tested method and write down exactly what you did. Storage date, grain type, treatment, and expected revival instructions belong on the label. A clear label prevents confusion with other stored cultures.
Milk grains, water grains, and starter powder need different plans
This guide is for reusable milk-kefir grains. Water-kefir grains are a separate culture and are stored in a suitable sugar solution for a short pause. They do not belong in milk, and milk grains do not turn into water grains when dairy no longer suits the household.
If milk allergy is the reason for stopping, the solution is not to rinse milk grains and move them into sugar water. Choose water-kefir grains maintained without dairy, or a plant-kefir starter explicitly labelled dairy-free. Check shared equipment and packing ingredients too.
Direct-set starter powder is different again. It is a measured mix of selected organisms, not a reusable grain colony. Store the unopened powder as the manufacturer directs. There is no grain to revive.
Restart with a small jar
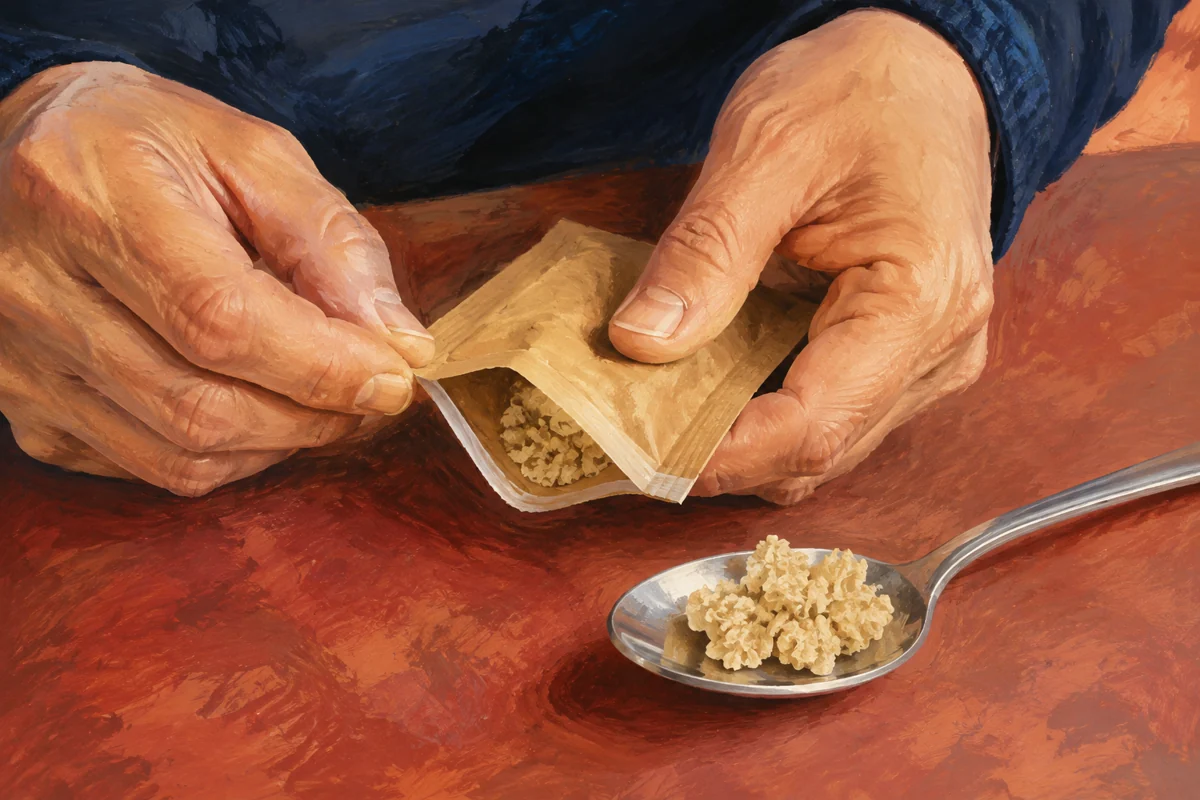
Bring refrigerated grains out, strain away the storage milk, and put the grains into a small amount of fresh pasteurized milk. For frozen, dried, or commercially dehydrated grains, follow the specific thawing or rehydration instructions first. Then repeat fresh-milk transfers at a steady room temperature.
The first recovery jars are test batches. Discard their liquid. They can be thin, slow, lumpy, or more yeasty than the culture's normal kefir. A bubble proves that something made gas. It does not prove the complete culture is balanced and ready.
Increase the milk only after the current amount ferments cleanly. A useful ladder looks like this:
- Use a small amount of milk that makes change easy to see.
- Replace it with fresh milk after the stated revival interval.
- When that amount acidifies normally, increase the milk.
- Repeat until the grains can handle your usual batch on a dependable schedule.
Frozen or freeze-dried grains can take up to a month to reactivate. Some refrigerated grains return within a few batches. The calendar is not the finish line. Function is.
How to know the grains have recovered
Look for repeated acidification of fresh milk, a clean fermented aroma and increasingly consistent timing over two or three transfers. Grain growth, floating or bubbles alone cannot confirm recovery.
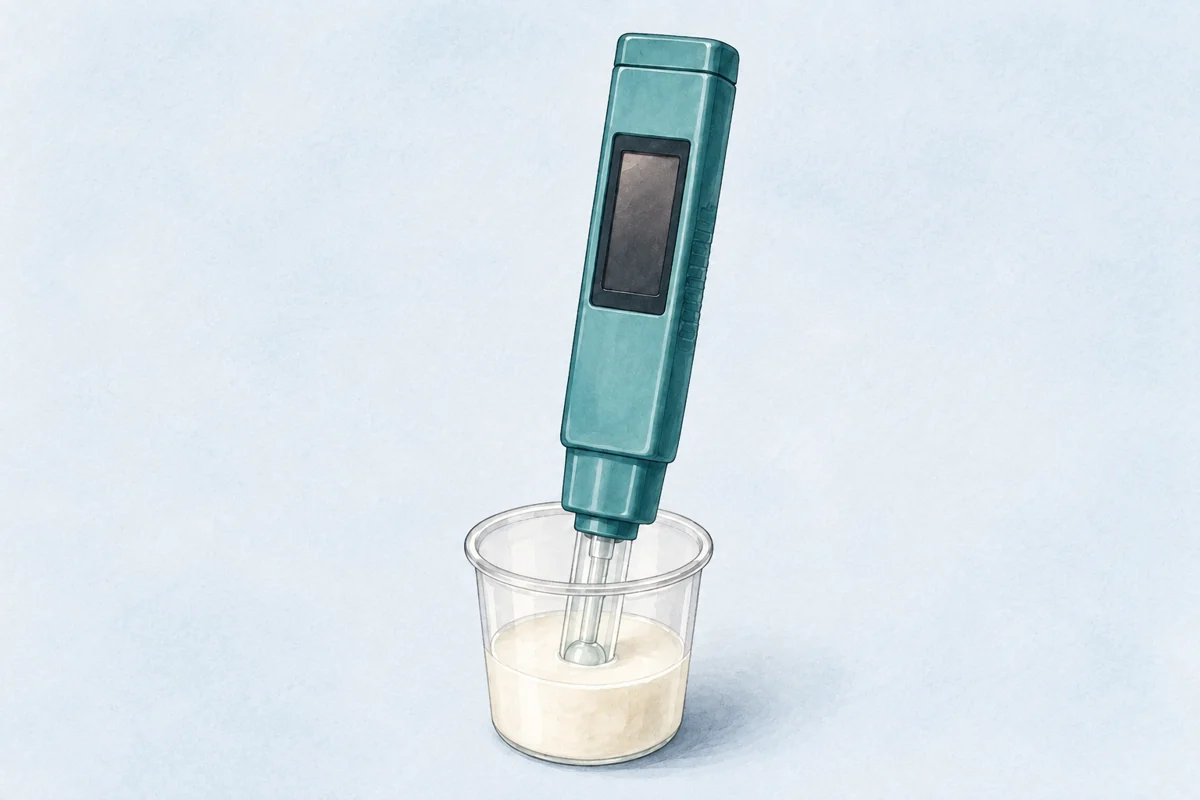
For milk intended for drinking, BCCDC describes fermentation at 20–25°C, usually over 18–24 hours. Discard a batch that has not reached pH 4.6 or lower within 36 hours. Use a calibrated food pH meter for this check. A passing pH cannot exclude contamination or undo poor handling.
Continue recovery only within the culture's specific revival instructions; discard the recovery liquid. If performance repeatedly fails to improve, replace the grains. Do not indefinitely extend warm storage to force a result.
When to discard the culture
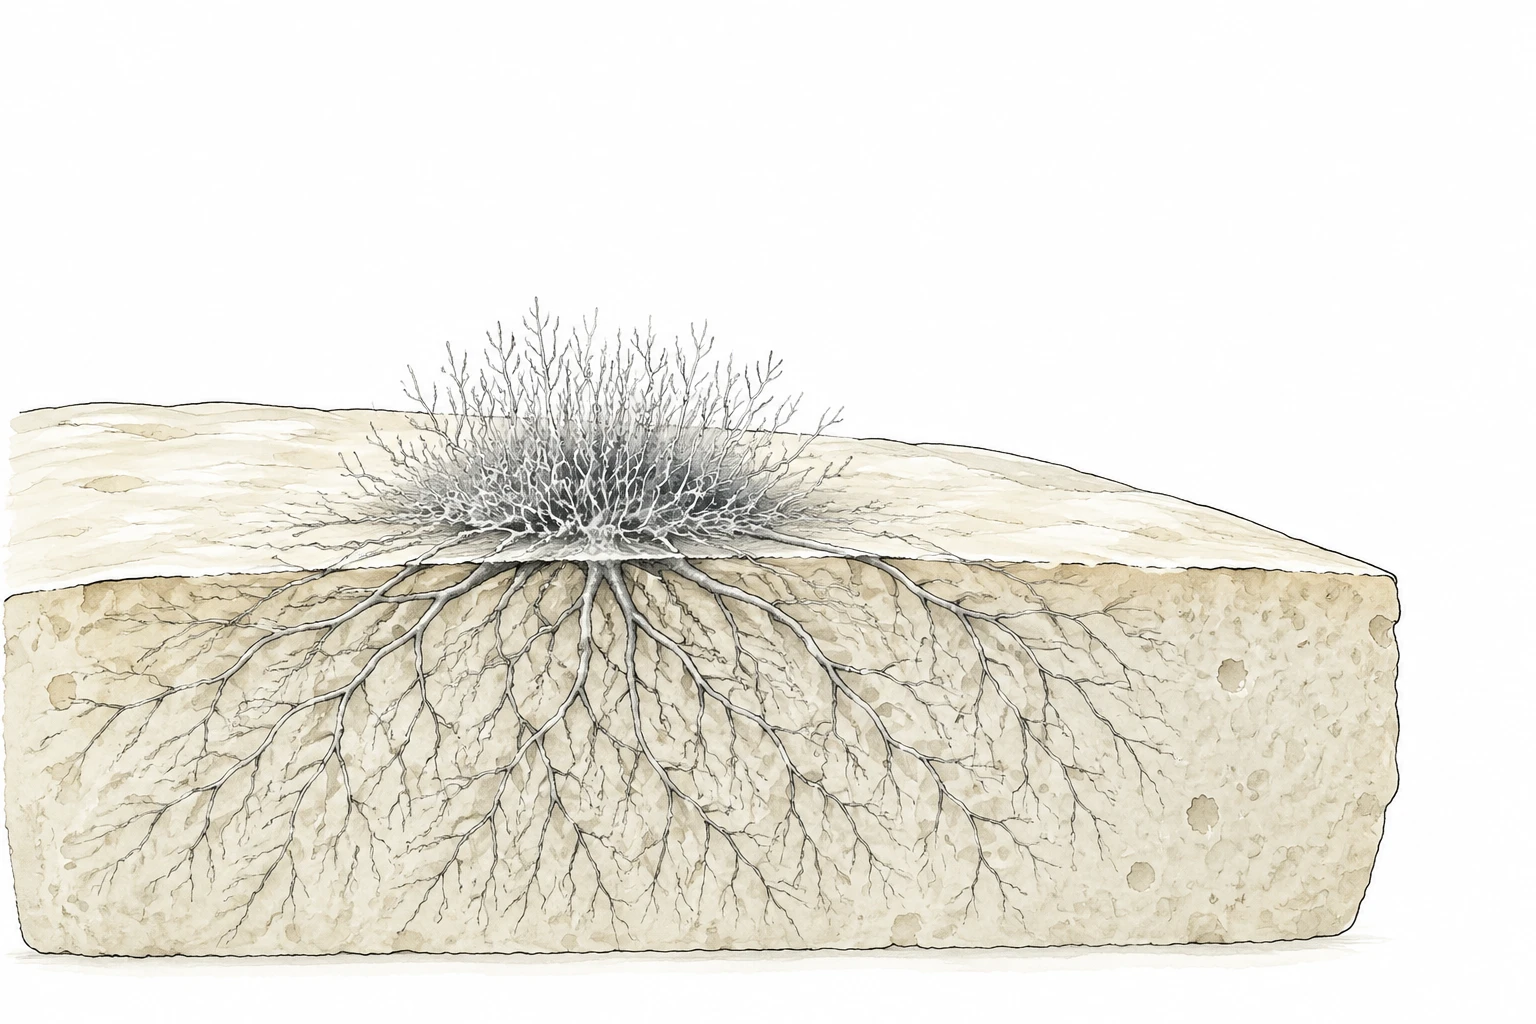
Discard grains and liquid with fuzzy growth, unusual coloured spots, insects or a rotten, putrid or chemical smell. A leaking or dirty container, or an unknown warm-storage history, also makes reuse unsuitable. Do not wash a contaminated culture and start another drinking batch with it.
Normal white curds, pale whey and clean sourness are different. They may occur during recovery, but must still be considered alongside the handling history and acidification checks.
Make returning easy
Before leaving, label the stored culture and keep its written revival instructions with your equipment. On return, have fresh pasteurized milk available; keep that milk refrigerated until needed. Start with the small feeding specified for the culture, and record each transfer and pH result in the fermentation journal.
Can I drink the storage milk?
Discard it and the early recovery liquids. Resume drinking batches after the grains repeatedly meet their process checks.
Should I rinse the grains?
Routine rinsing is unnecessary. Follow any specific preparation instructions in the preservation method you used.
How long will revival take?
There is no fixed batch count. Refrigerated grains may recover after several feedings; frozen or dried grains can take much longer, in some reported cases up to a month. Follow activity and the supplier's stopping criteria rather than promising yourself a drink on the first evening home.
For water grains, use the separate water-kefir storage guide.



Comments (0)
No comments yet.
Comments could not be loaded.
Join the discussion