
Milk kefir control
Milk kefir: temperature and grain quantity
If the same jar now separates before breakfast, check two numbers: the temperature beside it and the weight of the grains. Warmer conditions and more active grains usually speed acidification. Around 20–25°C, 15–30 g of active grains per 500 mL milk is a practical starting range, not a guaranteed finishing time.

Measure temperature where the jar sits
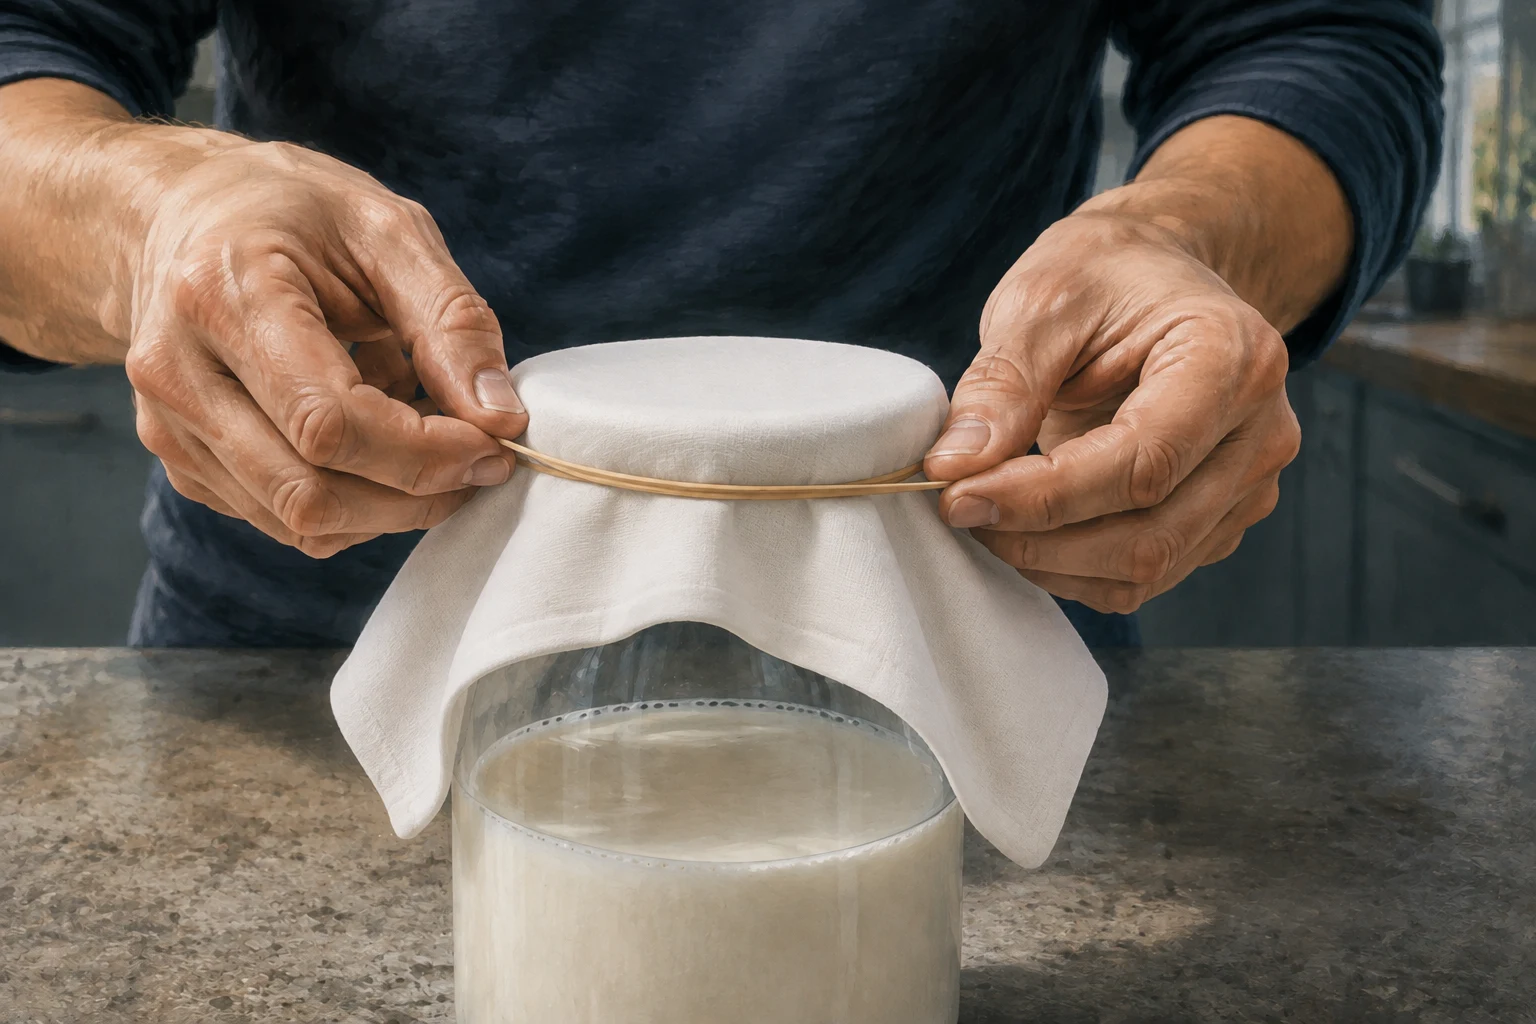
A warm appliance, sunlight or a closed cupboard can make the jar’s surroundings different from the room. Put a thermometer beside it and note changes over the day. Choose a stable place around the method’s usual 20–25°C range rather than moving the jar repeatedly.
Warmer is not always better. A faster batch may pass the mild, smooth stage before you can strain it. Very cool conditions can make an already recovering culture slower.
Calculate the ratio from drained grains
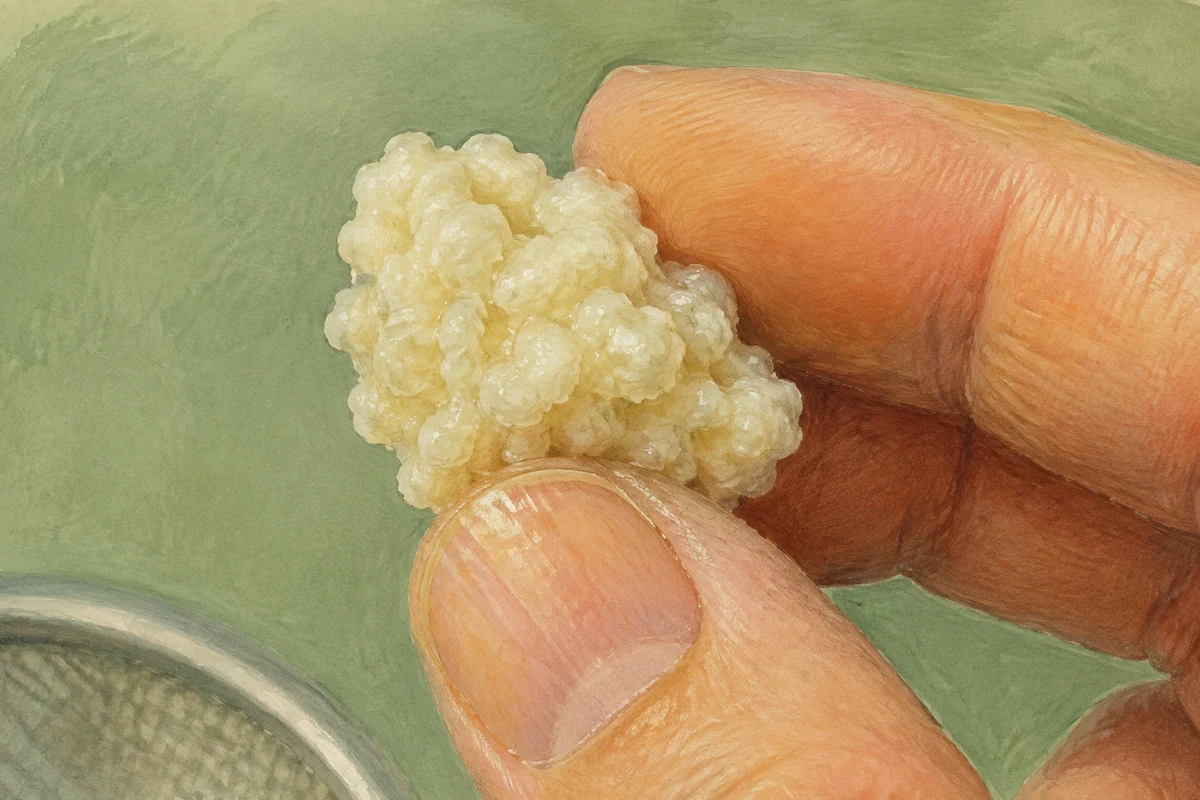
Weigh the grains after draining them in the same gentle way each time. In the weight-to-volume convention used here, 25 g grains in 500 mL milk is 5% w/v. That describes the starting amount, not the final microbe count.
| Grain weight in 500 mL milk | Starting ratio |
|---|---|
| 15 g | 3% w/v |
| 25 g | 5% w/v |
| 30 g | 6% w/v |
These are arithmetic examples within the BCCDC’s broader 2–10% process range. More active grains generally increase acidification speed, but culture condition and milk composition also affect the result.
Change one condition to fit your schedule
For a batch finishing too early, try reducing the working grains, starting at another hour, or using a more stable location. Add more milk only if you will use the extra kefir. For a slow batch, first confirm the grains are active and the temperature is suitable.
The milk-kefir calculator can estimate a starting amount. Compare its suggestion with actual batches; it does not predict exact acidity or certify safety.
Can I keep using fewer grains until it takes two days?
Do not extend the room-temperature process indefinitely. Milk kefir that fails to reach pH 4.6 or less within 36 hours should be discarded. Reduce the batch size or use a planned refrigerated pause when daily production does not fit your routine.
Keep the finish and the safety check together
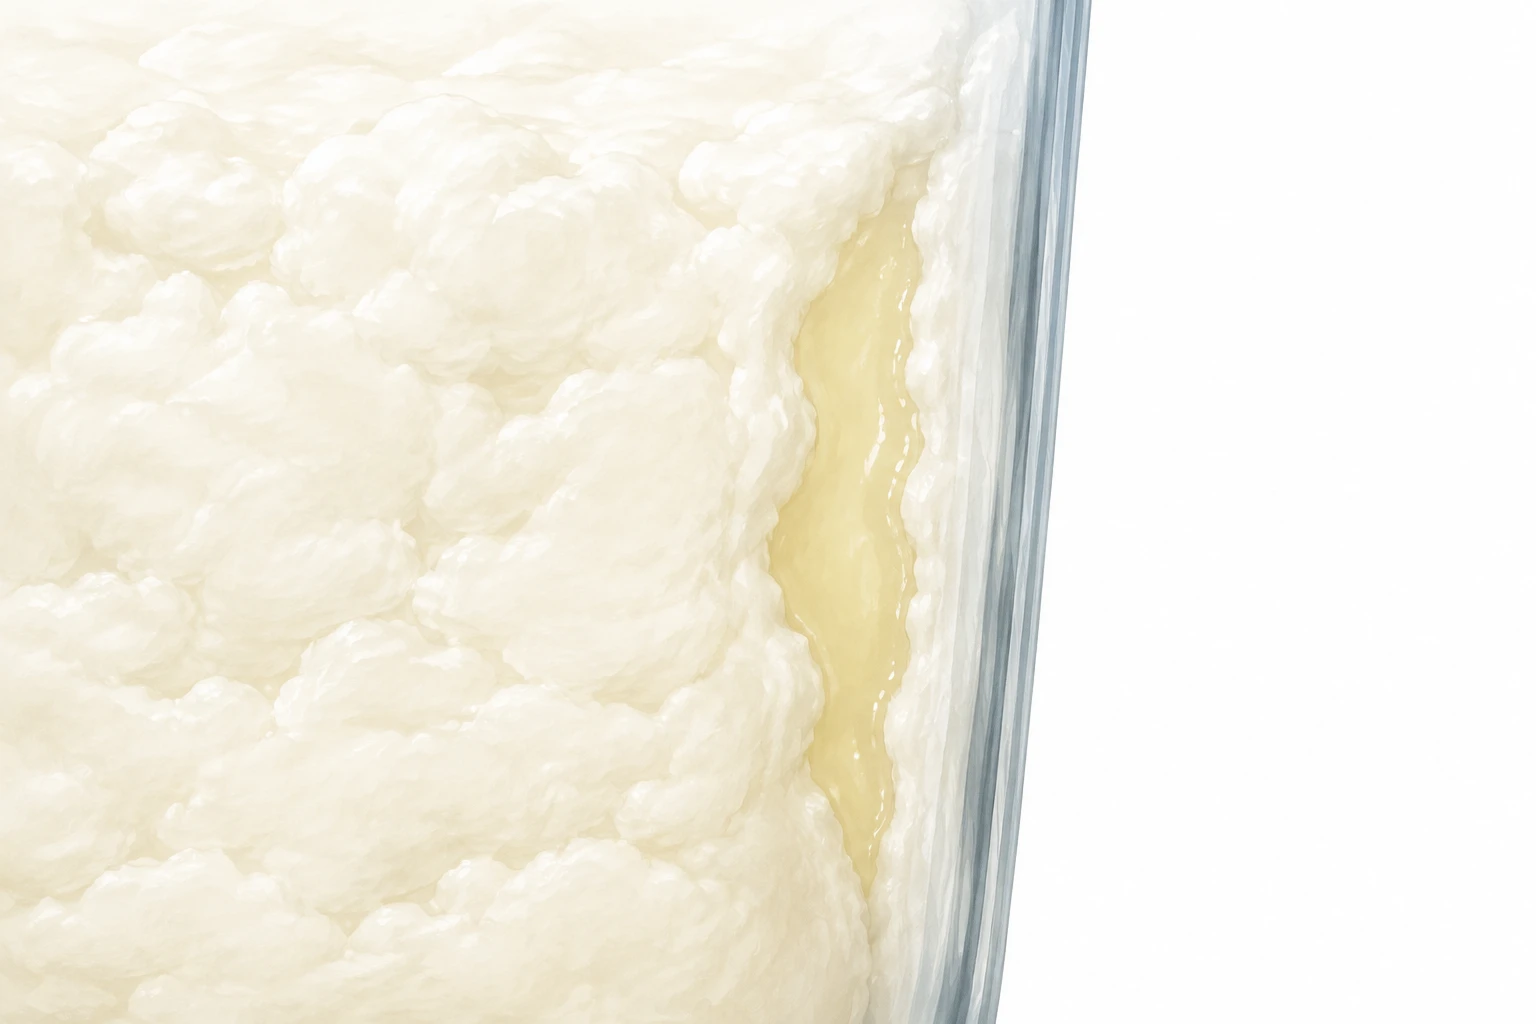
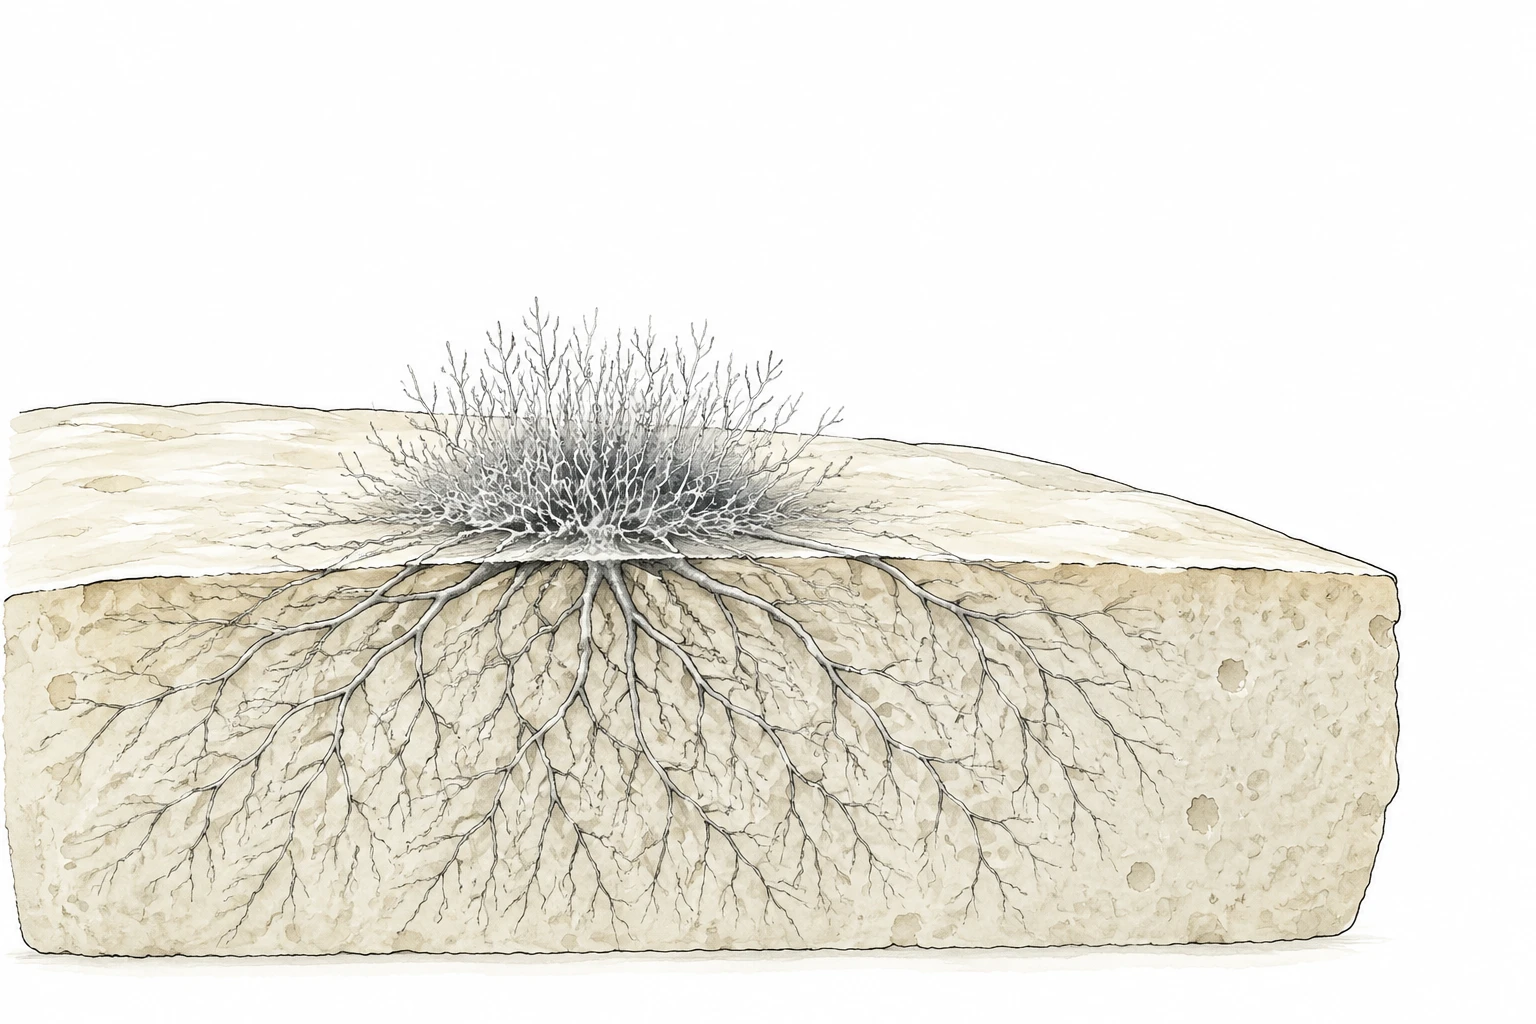
Look for the familiar tart aroma, glass coating and first whey pockets, then verify the required acidity within the process time limit. Do not treat smell or thickness alone as proof of safety. Fuzzy growth, unusual coloured patches or rotten odour require disposal of liquid and grains without tasting.
Record the setup and finish across several batches before making another change. The journal turns a preferred result into something you can repeat.
A one-week tuning card
- 1Choose a starting point
Keep milk, jar, location, and grain mass measurable.
- 2Watch before the deadline
Note aroma, body, and the first whey pockets—not only elapsed time.
- 3Move one control
Change temperature, ratio, or time; never all three together.
- 4Repeat once
A repeat tells you whether the adjustment belongs in your routine.
Small questions that prevent large corrections
Can I put cold milk straight into the jar?
Yes. Fresh pasteurized milk can go in cold. The batch simply begins more slowly while the milk warms. Do not heat the milk merely to make the clock look tidy.
Should I weigh wet grains?
Yes. Drain them in the same gentle way each time and weigh the working portion. Consistency matters more than removing every drop of clinging milk.
What if the room changes ten degrees between day and night?
Choose the most stable indoor location you have and start a batch when you can check through the faster part of the day. Use ratio to widen the finish window rather than chasing the jar around the room.
Research behind this answer
Where to go next




Comments
No comments yet.
Comments could not be loaded.
Join the discussion