
Make kefir
How to make milk kefir
Milk kefir needs only grains and milk, but your first jar gives you several decisions: how much to use, when to strain, and how to tell whether fermentation worked. Start with 15–30 g of active milk-kefir grains and 500 mL of fresh pasteurized milk at 20–25°C. Check from about 18 hours, confirm acidification as described below, then strain and refrigerate.
What you need
- 15 to 30 g active milk-kefir grains;
- 500 mL fresh pasteurized milk;
- a clean 1 L food-grade glass jar;
- a clean breathable cover or a lid left loose enough for gas to escape;
- a clean spoon and non-reactive strainer; and
- a clean container with a fitted lid for the finished kefir.
Use active milk-kefir grains for this method. Water-kefir grains and starter powder need their own instructions. Recently dried, frozen or inactive grains should complete their revival process before you use them to make a drinking batch.
Step 1: Prepare the milk and equipment
Wash your hands and clean and sanitize the food-contact equipment according to the sanitizer instructions. Have a jar, spoon, strainer, covered storage container and calibrated food pH meter ready. Use fresh pasteurized milk: fermentation does not reliably eliminate pathogens introduced with raw milk or dirty equipment.
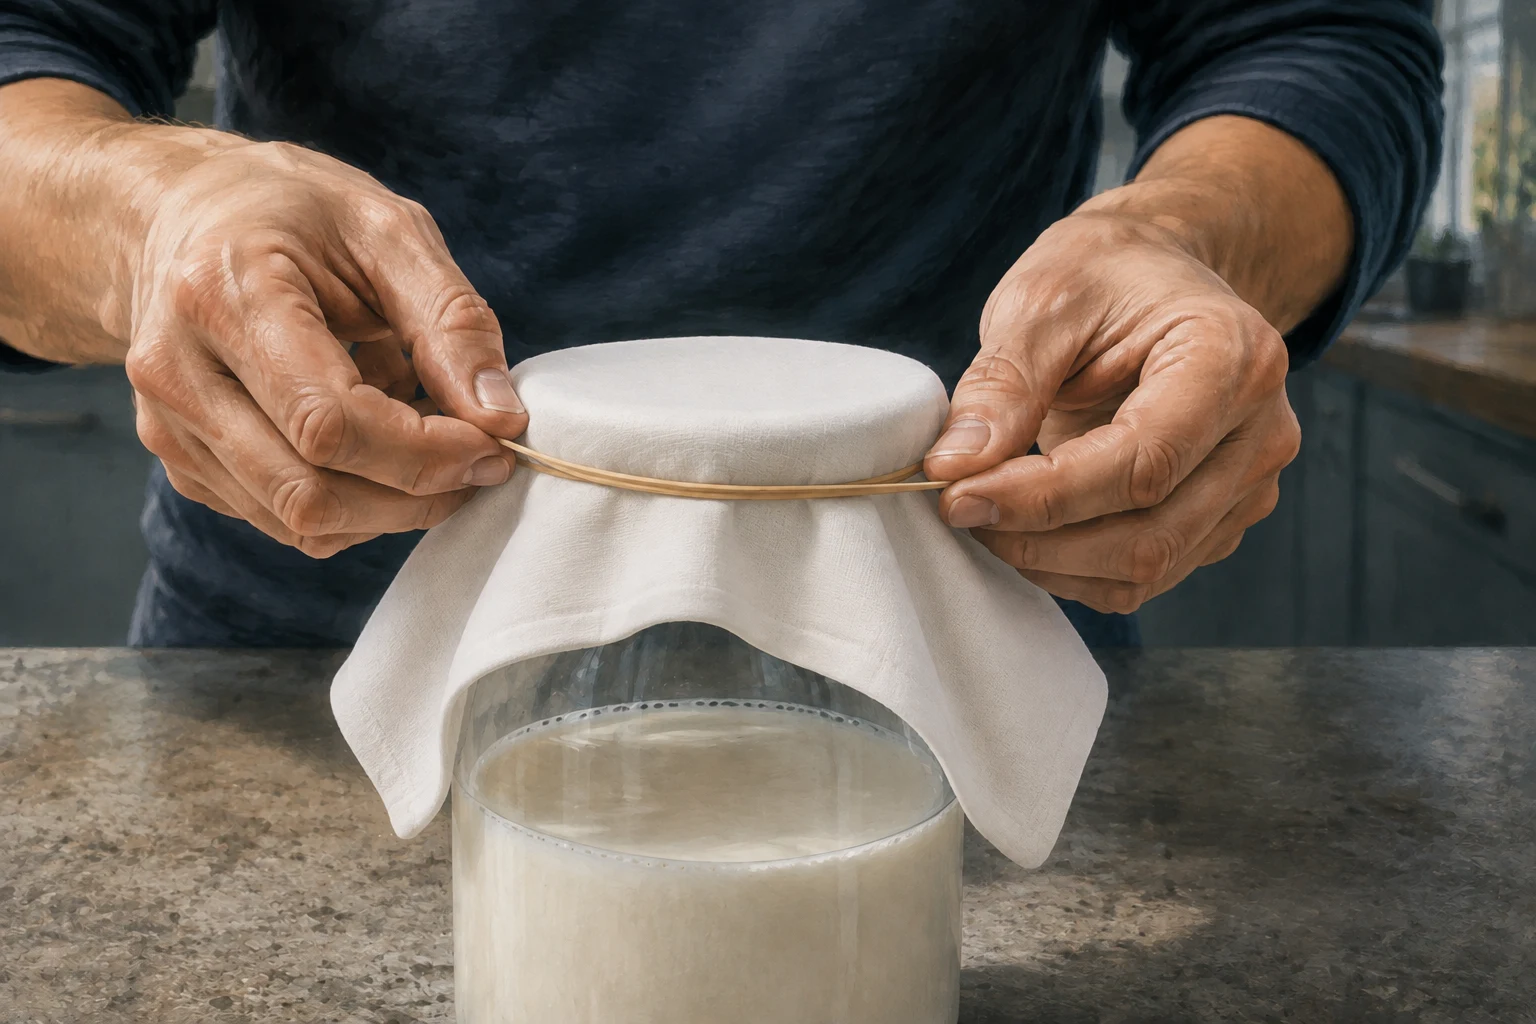
Put 15–30 g of active grains in a clean 1 L jar and add 500 mL of milk. Gently loosen a clump if needed. Cover to exclude insects and dust while letting fermentation gas escape.
Keep the jar out of direct sunlight at a stable 20–25°C. Note the actual temperature near the jar. A warmer kitchen can change the finish time even when your measurements stay the same.
Step 2: Start checking at about 18 hours
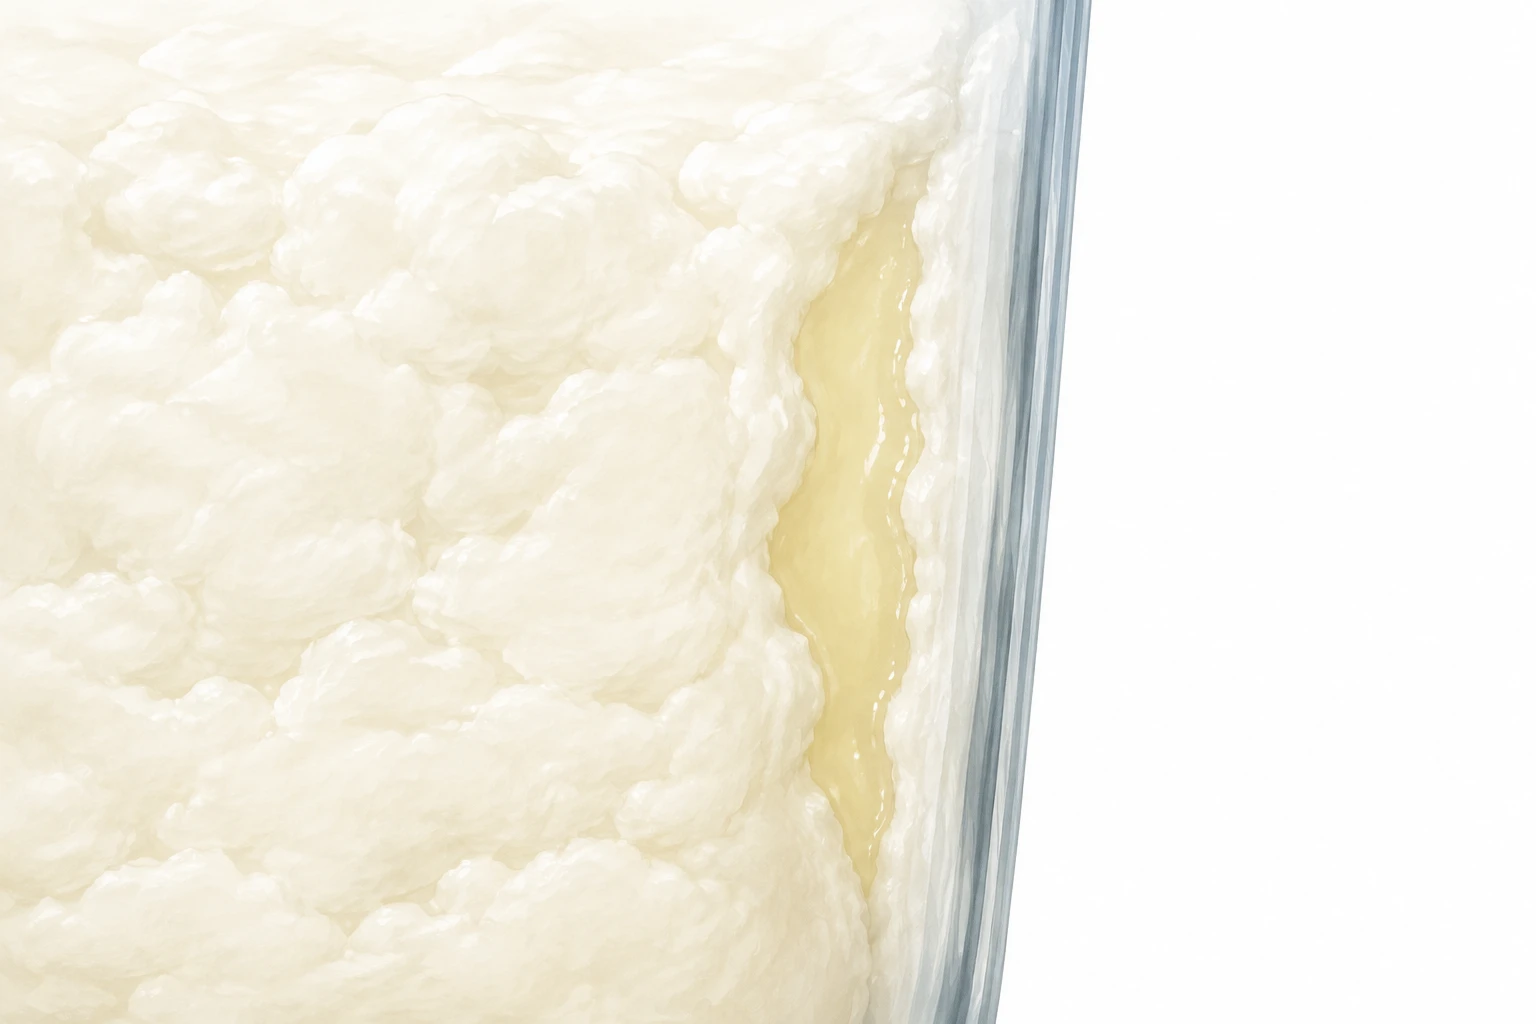
The milk may begin coating the glass, develop a clean yogurt-like aroma, or form small pockets of pale yellow whey. These are clues to its stage, not proof of safety. The jar-reading guide explains the difference between a creamy stage and extensive separation.
Once the batch has met its process checks, straining near the first small whey pockets often gives a milder result than waiting for a large curd-and-whey split. You do not need to wait for bubbles or a strong yeasty smell.
Record what you see together with the elapsed time, temperature and pH. Do not taste an uncertain batch to decide whether it fermented.
Step 3: Confirm that the milk acidified
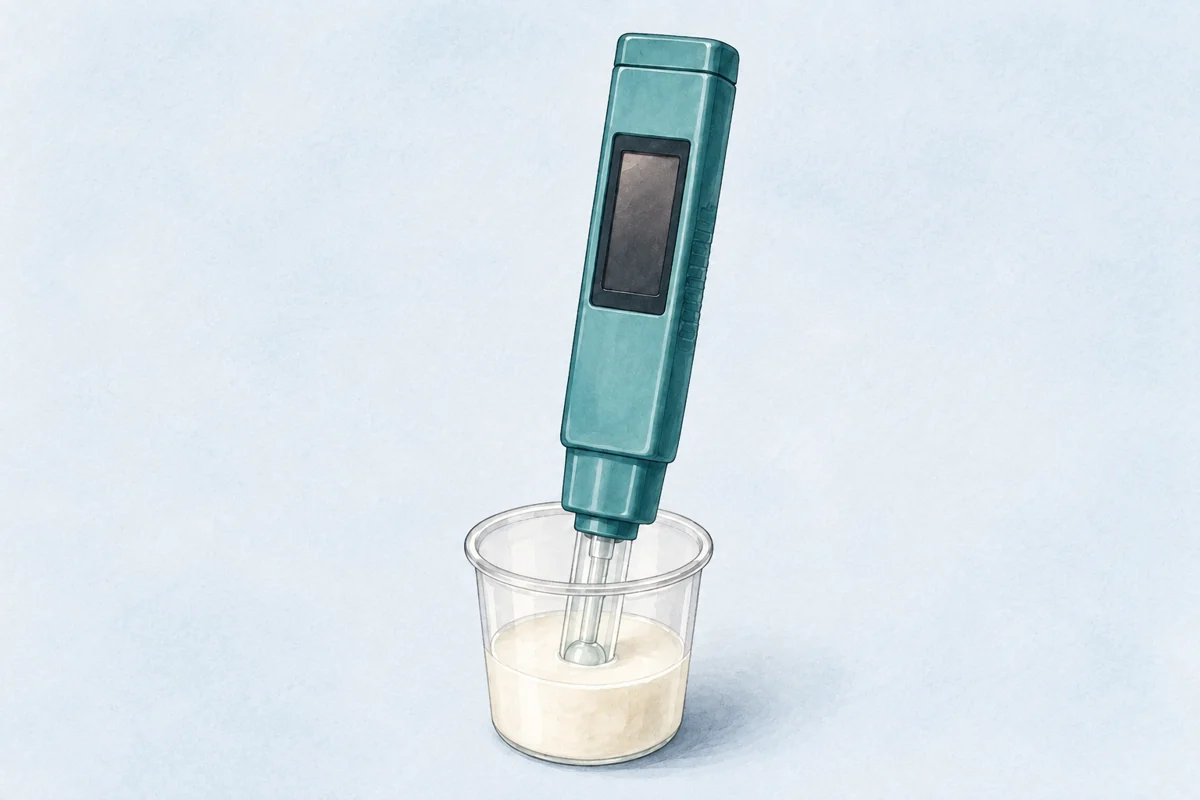
BCCDC guidance describes a usual milk-kefir process of 18–24 hours at 20–25°C, with a target of pH 4.6 or lower. Its failure rule is clear: if the pH has not dropped to 4.6 or lower within 36 hours, discard the batch. That outer limit is not a reason to leave every jar out for 36 hours.
Use a calibrated food pH meter and a separate sample. Follow the measurement guide for calibration, sampling and readings close to the boundary. Test strips are difficult to interpret precisely around a cutoff.
Acidity is one process check. It cannot rule out contamination, undo poor handling or make raw milk safe. Do not keep a failed batch warm for another day, add acid to obtain a passing number, or taste it for reassurance.
Step 4: Strain and refrigerate
Pour the kefir through the clean strainer into its storage container. Gently move thick curds to let the drink pass; do not force the reusable grains through the mesh. Move the grains into fresh milk for the next batch. Routine rinsing is unnecessary.
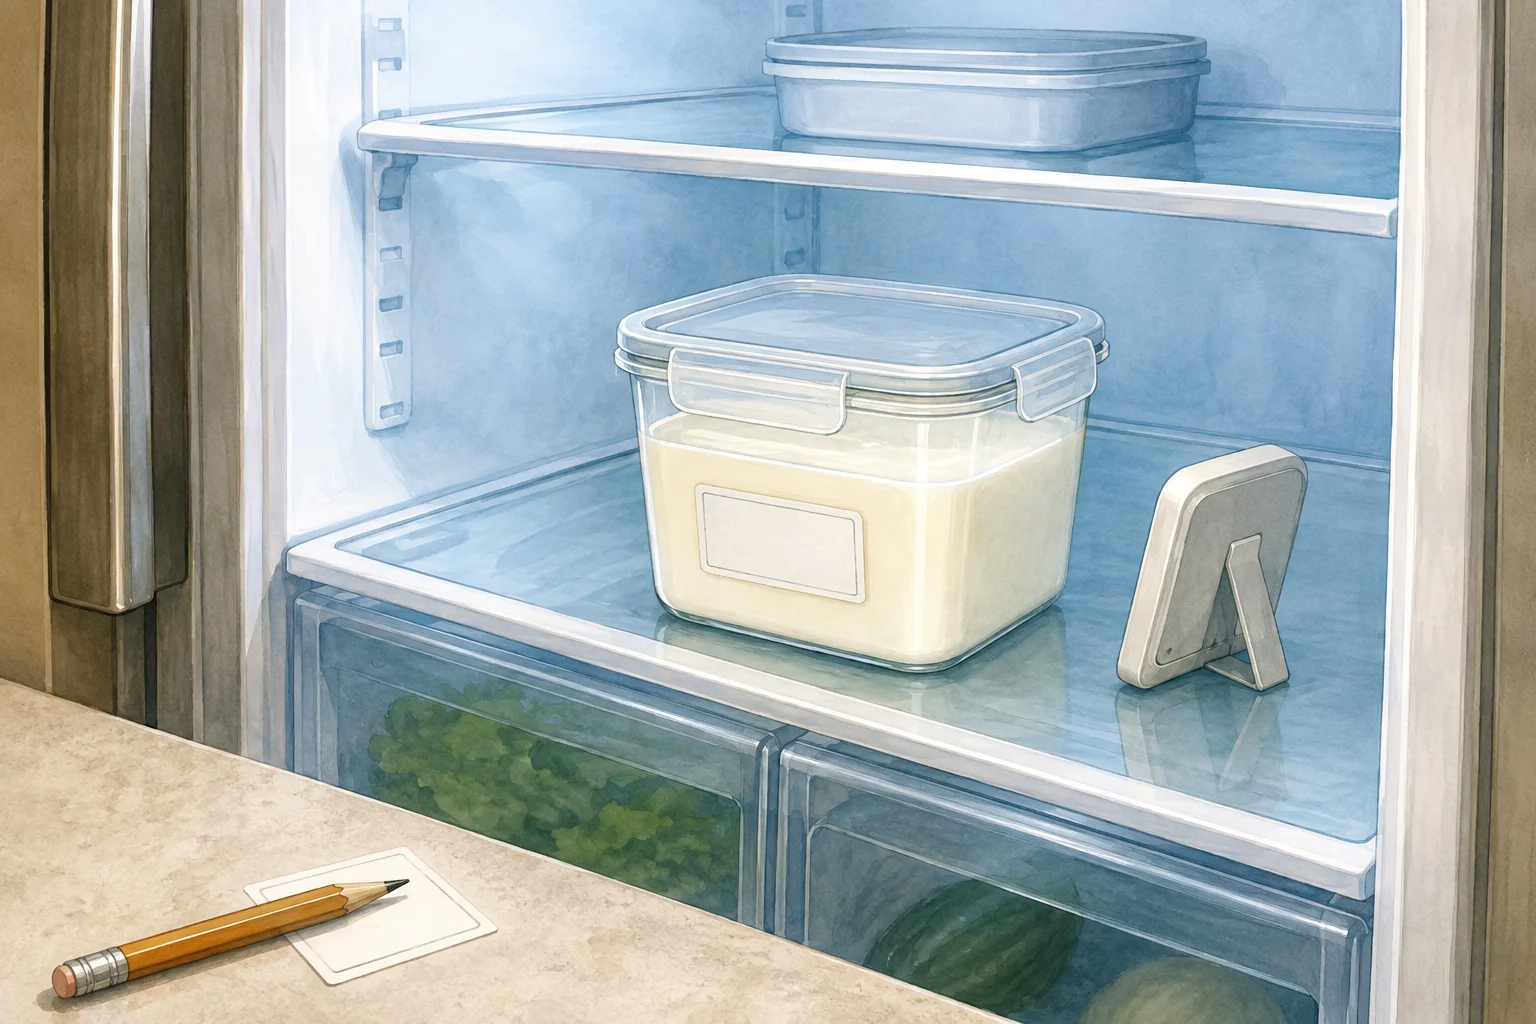
Cover and refrigerate the finished kefir promptly at 4°C or below. BCCDC specifies cooling to 4°C within four hours. Cold slows fermentation, so some further souring and gas can still develop. Label the date and use the storage guide to plan a manageable batch size.
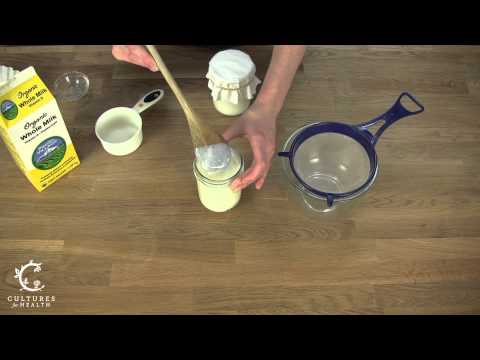
Watch the spoon move gently through the kefir in the strainer. The drink drains into the bowl while the grains stay behind.
English excerpt · 5:04–5:38. This clip shows straining; use the written method for ingredients, timing and refrigeration.
Julie / Cultures for Health
Open the original on YouTube (new tab)Does a successful batch have to be thick?
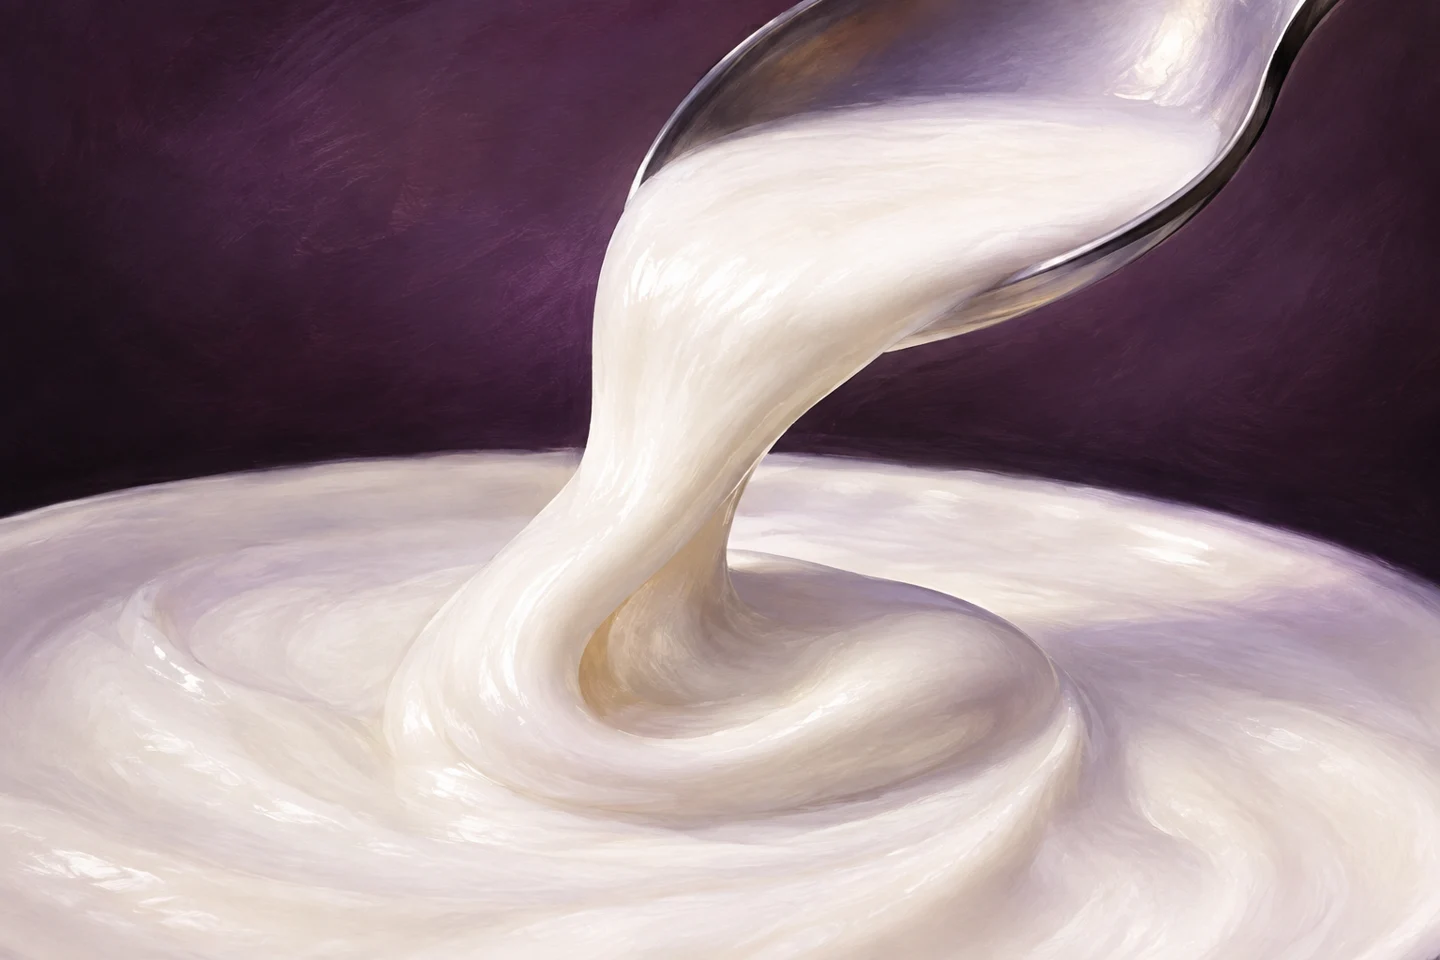
No. Milk kefir can be pourable, lightly coat the glass or form soft curds. Milk composition, culture activity, temperature and finish point affect texture. Look for reliable acidification within the process limits and normal handling and sensory checks; thickness alone cannot decide.
My jar is thin but reached the pH target. Should I wait longer?
Extra warm time may make it more sour and separated. If all process and handling checks were met, strain and chill it, then compare the texture cold. For the next batch, use the thicker-kefir guide to adjust milk or finish point.
How to adjust the next batch
If the kefir finishes too quickly or becomes sharply sour, use fewer grains, add more milk within the amount you can drink, move the jar to a slightly cooler stable place, or strain earlier. Change one of these at a time.
If it stays thin but acidifies normally, first check the milk, temperature, and finish point. Some milk makes a thinner drink. A cooler room slows body development. Straining before the milk begins to cling will also give a lighter texture.
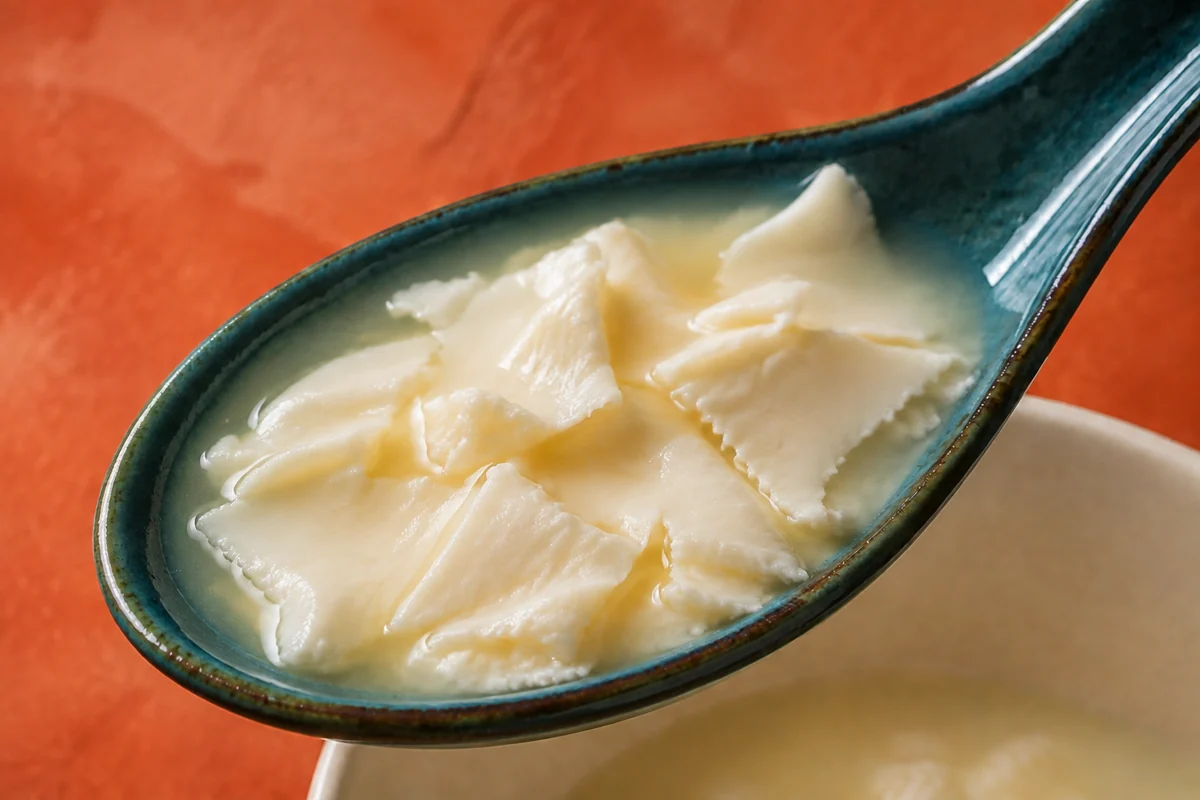
If it separates heavily, the culture probably ran past your preferred finish. Shorten the next ferment or reduce the grain-to-milk ratio. Stirring the current batch may bring curds and whey back together, but it will not make the flavour mild again.
If the batch is slow and the pH barely changes, check whether the grains were fully active, whether the milk was fresh, and whether the room was too cool. Do not respond by changing the milk, adding more grains, moving the jar, and extending the time all at once. That creates a new recipe without revealing which problem you fixed.
Know the difference between ugly and unsafe
White curds, pale whey, clean sourness, a mild yeast note, and gentle fizz can all belong to normal milk-kefir fermentation.
Discard the liquid and the grains that touched it if you see fuzzy growth, pink, orange, green, blue, or black spots, insects, or a dirty damaged container. Do the same for a rotten, putrid, sharply chemical, or otherwise unfamiliar smell. Do not stir visible mold into the batch, and do not taste a doubtful jar.
If the batch simply ran too long and separated, the grains usually remain usable. Put them into fresh milk and adjust the next batch. Safety problems and flavour problems need different responses.
Your first three batches
Keep the first three batches deliberately similar:
- Use the same milk, jar, grain amount, and location.
- Check at the same times and record when the aroma, cling, and first whey pockets appear.
- Strain at the finish you prefer, then change only one variable for the next batch.
After several similar batches, compare your recorded finish times and temperatures. If the culture remains inconsistent, return to the revival guidance before increasing your batch size.
Questions beginners usually ask
Must I avoid all metal?
No. Brief contact with clean stainless steel is suitable. Avoid long contact with reactive metals such as aluminium, copper, or iron.
Should the jar be sealed tightly?
Use a breathable cover or a loose lid for this first fermentation so gas can escape and insects cannot enter. Use a fitted lid after straining and refrigeration.
Is separated kefir spoiled?
Usually not. White curds and pale whey commonly mean fermentation went further. Check the smell, colour, handling history, time, and pH before deciding.
Can I use raw milk because fermentation will protect it?
No. Use pasteurized milk. Kefir's short fermentation does not reliably eliminate pathogens already present in raw milk.
The method in one line
Use active grains, pasteurized milk, clean equipment, a stable 20 to 25°C room, and pH 4.6 or lower within the process time limit. Strain when the jar reaches the flavour and texture you want, then refrigerate promptly.
Comments
No comments yet.
Comments could not be loaded.
Join the discussion